The eight stages of a house renovation, in order
Renovation goes wrong in predictable places: a permit pulled late, a bid compared on the wrong line, drywall closed before an inspection. Here is the order work actually has to happen in, and what to verify before you release the next payment.
A renovation is not one project. It is a chain of decisions and inspections, and each link constrains the next. Drywall cannot go up before the rough electrical inspection passes. Cabinets cannot be ordered before the tile layout is settled, or the dishwasher will not open. The stages below are the shape most US whole-house and kitchen-and-bath projects follow, whether the contract says so or not.
01 · Scope and feasibility (2–6 weeks)
Before drawings, decide what the house can physically take. Walk the house with someone who can read structure — an architect, a structural engineer, or an experienced GC. The questions are blunt: which walls are load-bearing, is the panel large enough for the new circuits, where does the sewer leave the house, and is the ceiling height in the basement usable.
At the same time, put a real number on the budget, including a 15–20% contingency. A budget that assumes everything goes right is not a budget; it is a wish. Deciding the number now prevents the slow erosion that happens when each individual upgrade feels affordable.
- Confirm the scope in one paragraph: which rooms, what changes, what stays.
- Get a structural opinion before any design is priced.
- Check the electrical service, panel capacity, and water pressure.
- Write down what you will not do. The list is as useful as the scope.
02 · Design and drawings (3–8 weeks)
Design is where a renovation is either cheap or expensive. Moving a sink two feet is a plumbing change, not a cosmetic one. Removing a wall is a structural permit. Every decision made on paper costs a fraction of the same decision made after framing.
You need two sets of documents: a design set for you and the contractor, and a permit set for the building department. They are not the same. The permit set has to show what the inspector needs — framing, egress, smoke and CO alarms, stair geometry, insulation values — not the pretty render.
Ask for a finish schedule while drawings are still open: tile, paint, cabinet door style, plumbing trim, lighting. Undecided finishes become allowances, and allowances become change orders.
03 · Permits and approvals (2–10 weeks, varies by city)
The permit timeline is set locally and is the least controllable part of the schedule. Plan review can take two weeks in a small town and three months in a large city with a backlog. Add HOA approval and historic-district review if they apply — both can run in parallel with the permit, but only if you start them early.
Do not let a contractor talk you into starting “under the table” while the permit is pending. Unpermitted work is a disclosure problem when you sell, an insurance problem if something fails, and a financing problem if an appraiser flags it. The savings are temporary; the paperwork follows the house.
- Ask the building department what the current review time is, not what it was last year.
- Submit a complete package; incomplete submittals restart the clock.
- Post the permit card where the inspector can find it.
- Keep every approved revision — the inspector will ask for the stamped set.
04 · Bidding and contract (2–4 weeks)
Three bids on the same drawings is the minimum for a real comparison. The trap is comparing totals. A $90,000 bid with a $15,000 allowance for cabinets is not cheaper than a $100,000 bid with cabinets specified — it is a $105,000 bid wearing a smaller number.
Read the exclusions page first. “Does not include permit fees, dumpster, or final cleaning” is normal; “does not include subfloor repair” on a 1950s bathroom is a warning. Compare line by line, then compare the payment schedule. A contract that asks for 50% up front is financing the contractor, not the job.
A payment schedule that keeps leverage
- 10–15% at signing, for mobilization and permits.
- Progress payments tied to completed, inspected stages — not to calendar dates.
- 5–10% held until the punch list is signed and final inspection passes.
- Change orders paid only after the work is done and the price is agreed in writing.
05 · Demolition and structural work (1–3 weeks)
Demo is fast and revealing. Floors come up, walls open, and the house shows what the drawings could not: rotted subfloor, knob-and-tube wiring, a beam that was never a beam. This is where a contingency earns its name. Expect at least one surprise in any house older than 40 years, and two in a pre-1950 house.
Protect what stays before the first hammer swings: plastic and zip walls on the dust path, floor protection on the route the crew walks, and a plan for the pets. Dust travels farther than the work does.
Structural changes need an inspection before they are covered. If a beam or header is replaced, photograph the connection before drywall — inspectors sometimes accept photos when a detail is already closed, but the schedule should not depend on that.
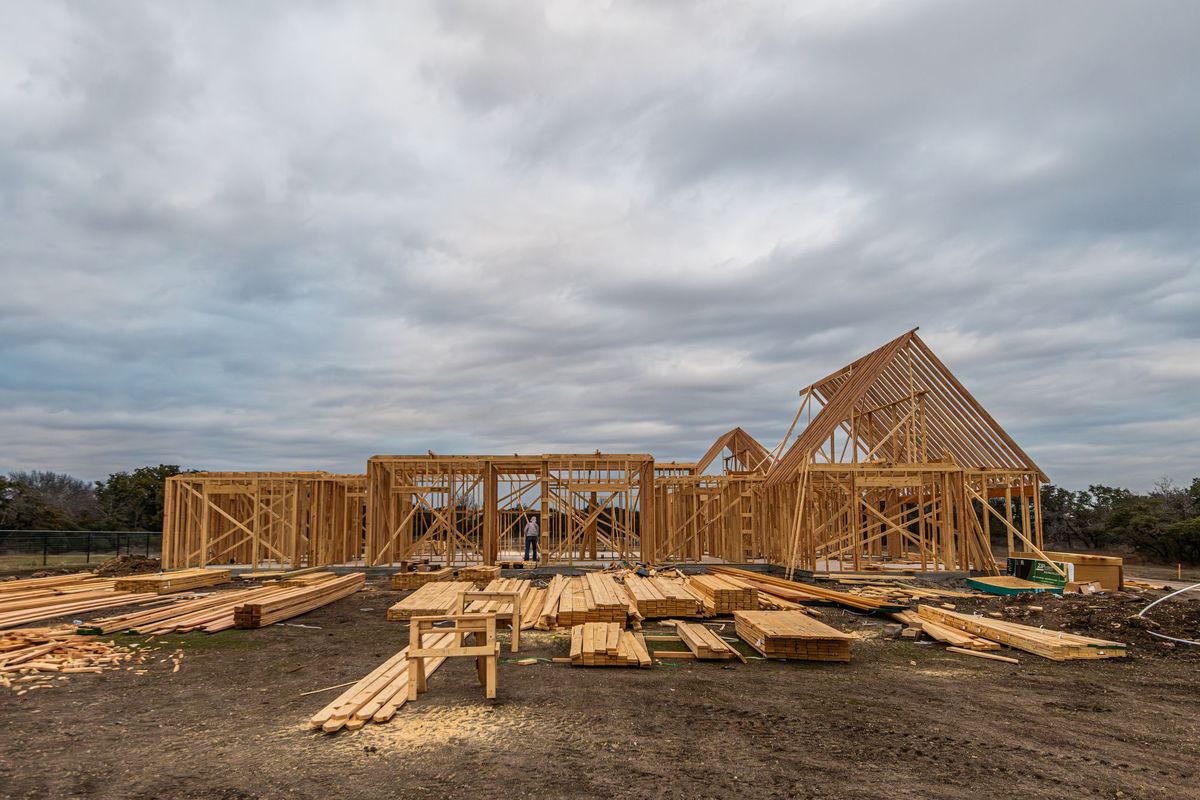
06 · Rough-in and inspections (2–4 weeks)
Plumbing, electrical, and HVAC rough-in happen together because they compete for the same joist bays and wall cavities. The order is decided by the code official, not by convenience: framing inspection first, then rough plumbing and mechanical, then rough electrical — or a combined rough inspection, depending on the jurisdiction.
| Inspection | What it covers | Typical timing |
|---|---|---|
| Framing | Studs, headers, sheathing, fire blocking | After structural work, before insulation |
| Rough plumbing | DWV slope, venting, water lines under pressure | After pipes are run, before drywall |
| Rough mechanical | Ductwork, flues, equipment placement | Same window as plumbing |
| Rough electrical | Boxes, wire, grounding, panel work | After wiring, before insulation |
| Insulation | R-values, air sealing, vapor barrier | After rough-in passes |
| Final | Fixtures, devices, egress, alarms, closeout | After finishes and punch list |
Photograph every wall before it closes. Ten minutes with a phone saves an hour of guessing when someone hangs a television two years later, and it is the cheapest as-built record you will ever make.
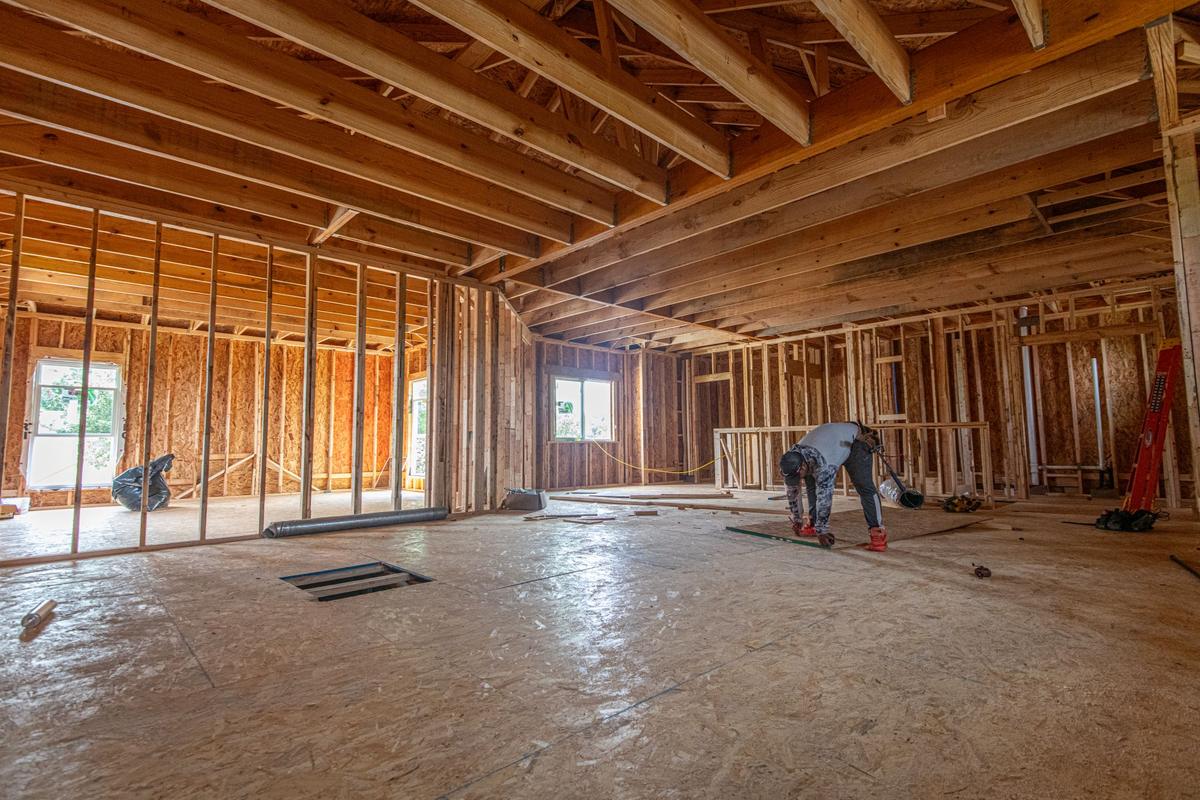
07 · Insulation, drywall, and primer (2–3 weeks)
Insulation is the last chance to fix air sealing, and air sealing matters more than the R-value printed on the bag. Gaps around plumbing penetrations, top plates, and recessed lights leak more than a poorly insulated wall. In cold climates, a vapor barrier installed on the wrong side traps moisture; ask the inspector which side they expect.
Drywall is where the schedule usually slips. Hang, tape, and three coats need drying time between passes, and a humid week adds a day. Texture matching on a partial remodel is a skill; a patch that looks fine under a work light can be obvious in daylight. Look at the walls in the evening with a raking light before primer goes on.
Primer is not optional and not the same as paint-and-primer in one. New drywall absorbs unevenly, and a mist coat plus a proper primer coat is what makes the topcoat look even.
08 · Finishes, fixtures, and closeout (3–6 weeks)
Finishes are the visible stage and the one with the most dependencies. Tile needs a flat substrate. Cabinets need finished walls and floors in the right order — usually floors first, then cabinets, then counters, then backsplash. Counters are templated after cabinets are set, which means a 5–10 day gap no one puts in the schedule.
Then the punch list: the door that rubs, the outlet that is dead, the grout line that is wider than the rest, the paint on the window hardware. Walk the house with a roll of blue tape and mark everything, including things you think are too small to mention. Small things are exactly what a punch list is for.
Closeout is paperwork as much as work: final inspection sign-off, warranty documents, equipment manuals, paint colors and sheens, and lien waivers from every subcontractor who worked on the job. A final payment without lien waivers can mean paying twice.
Where the schedule actually goes
Most delays are not lazy crews. They are decisions made late: tile chosen after the plumber set the drain, a cabinet order placed after the counter template, a permit revision submitted after framing. The calendar is a mirror of the decision log. Keep the decision log short and the calendar gets shorter.
If you are comparing this against a bid, read how the numbers are built next, then look at the change orders that tend to appear around stage five.